The choice to grow vegetables from seed is often recommended simply on the basis of being cost effective. While this is true, a more important reason may be to produce your planting material on site and within the environment they will eventually grow.
Much about organic gardening is about working with a whole environment in the garden, paying attention to all the natural conditions in the garden. Starting plants from seed ensures the maximum exposure to local conditions right from the start.
While using shop bought seedlings is convenient it can involve moving plant material out of clinically sterile specialist nursery conditions and depositing them into the alien environment of the back garden. Some plants can experience shock in this process or simply struggle within the less than ideal conditions of the average garden.
When you grow vegetables from seed you know exactly what has gone into them. This is important if you want to ensure full organic crops.
Sourcing good quality seeds is an important matter. Many people trying gardening for the first time do so by picking up a few packets of seed of the shelf from their local DIY store. While these seeds are quite usable in their own right, there is a case to be made for sourcing good quality specialist organic seed that is often inherently stronger and less reliant on fertilisers.
Lower genetic variability in our food plants means lower adaptability to stresses such as pest, disease and weather changes.
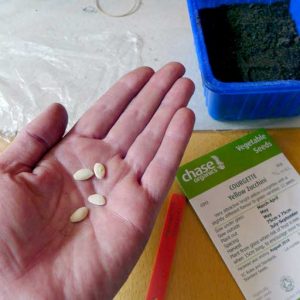
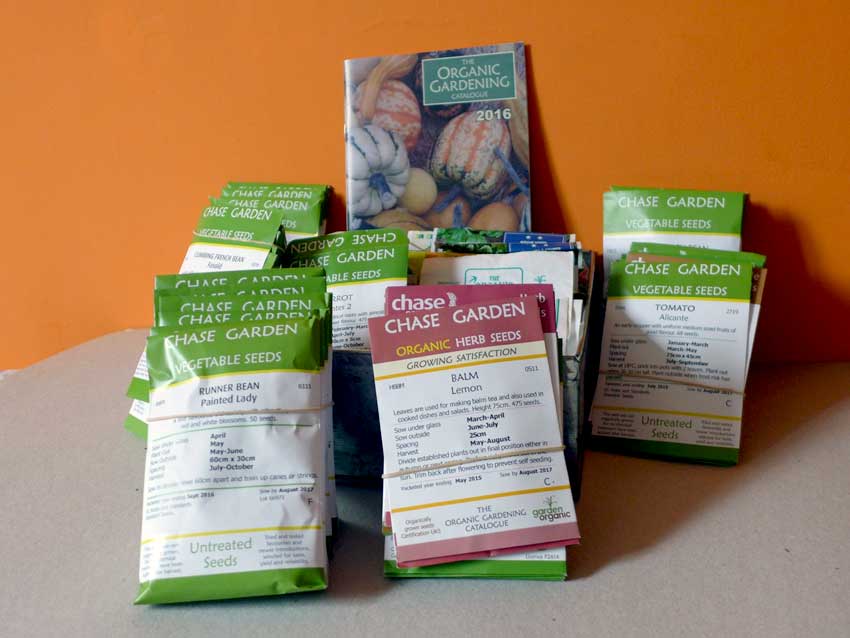
With the internet to hand and easy mailing facilities, it has never been easier to order and have delivered good quality seed (most packages of seed orders are no larger than general mail). The Chase Organic Catalogue can be ordered on this site and is posted free to Belgium, their on line ordering service is practical and efficient.
Good quality seeds are often called heirloom seeds. These seeds are from old, open-pollinated cultivars. These varieties have a tried and tested reputation for being high quality and easy to grow. Open-pollination means that a particular cultivar can be grown from seed and will come back “true to type.” In effect, seed can gathered at the end of each year from plants in the garden and used the following year.
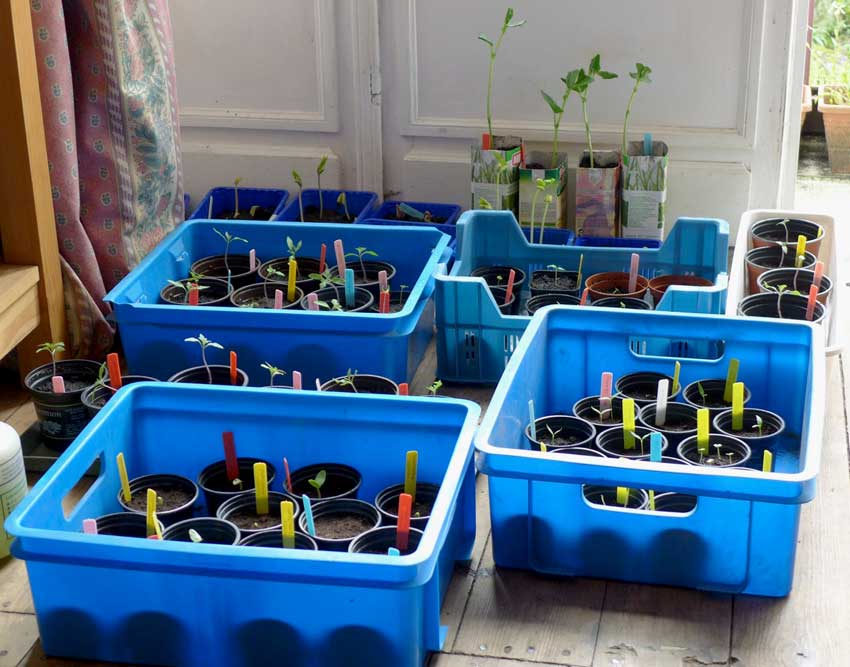
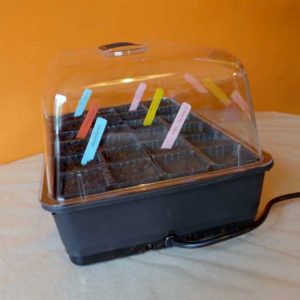
Seed germination requires 3 things; water, temperature and soil. The temperature element is key. Fortunately this means seed germination should be encouraged within the warmth of the house and not outside in the garden. Creating a small nursery space in the house, a convenient shelf in a stable dry environment where several small plant incubators can be kept does provide an almost perfect environment for the process.
Seeds should be started four to eight weeks before the plant-out date in your area (average date of last frost). With the present climate disruptions this calculation has never been more difficult. While in the past winter conditions would gradually change to spring, in recent years this change has been blurred and confused leading to late sudden frosts or cold spells, or prolonged winter conditions leading into sudden warm spring conditions.
In many ways the process from seed germination to small seedlings, to hardening off small plants, to planting out plants should proceed steadily over the eight week phase before spring. If this process is delayed plants can grow poorly or unevenly. These difficulties can be offset by batch planting each variety several times over this timeframe creating a contingency of plant material.
Raising seedlings indoors will put you a few weeks ahead of the normal growing season and can make all the difference in a short summer season.
Simple Steps
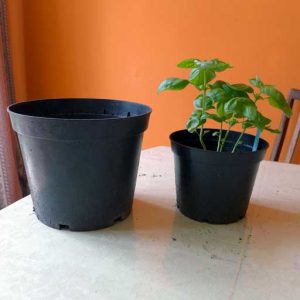
- Prepare the containers. Clean well if re-using old pots or trays. For most seeds the simple packs of square plastic pots or seed compartment trays are ideal.
- Prepare your growing medium. To avoid disease, use purchased seed raising mix, which is sterile and designed for seed growing. Other products that can be used include vermiculite, perlite or a homemade mix of coir peat and propagating sand. Do not use garden soil in pots. The medium should be moistened before filling the pots. It should be damp, but not wet. Containers should be filled to within 1/4 inch of the top.
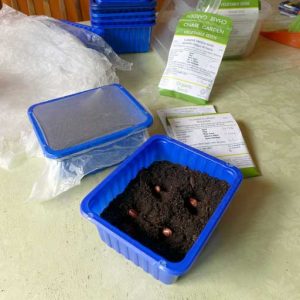
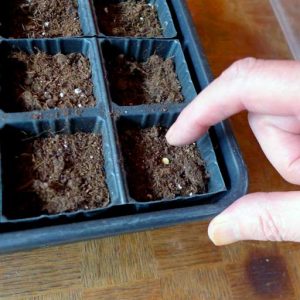
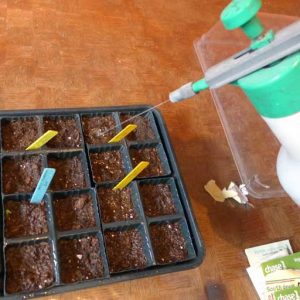
- Sow your seeds. Moisten the medium in the containers before sowing the seeds. Drop seeds onto the surface of the mix, spacing them as evenly as possible (2/4 seeds per pot). Cover the seeds to a depth about three times the thickness of the seeds.
- Watering. The potting medium must remain moist, but never wet or soggy, as this will prevent oxygen getting to the roots and drown your new plants.
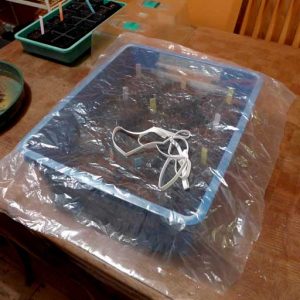
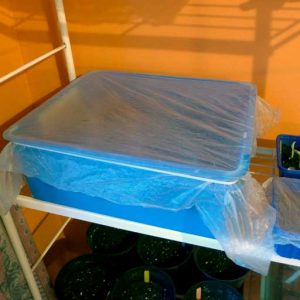
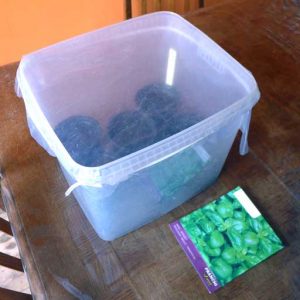
- Cover containers. Cover seed containers with plastic or place them inside a plastic bag. Enclosing the container keeps the moisture levels constant. Seeds are very sensitive to the amount of water they receive. Too much water or too little water will greatly effect the germination success rate. Remove the cover when the seeds have germinated to prevent plant diseases such as damping off.
- Label containers. Loosing track of what is growing where or mis-placing labels is very frustrating.
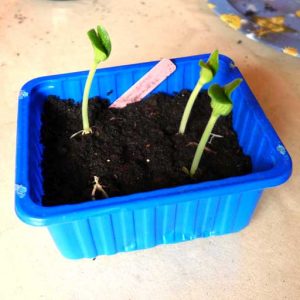
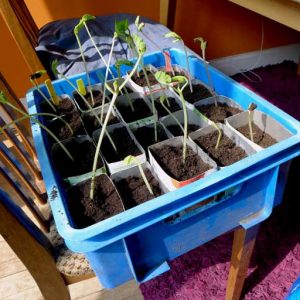
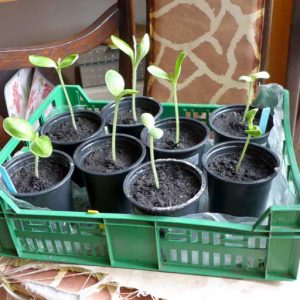
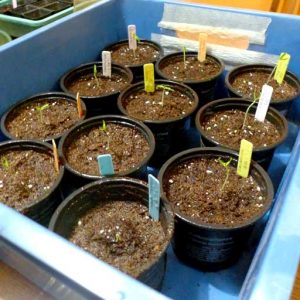
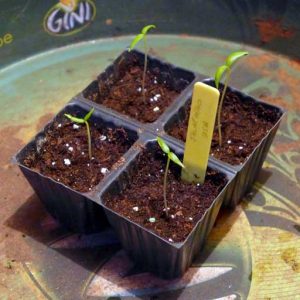
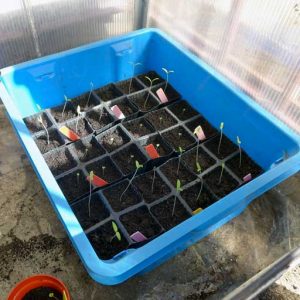
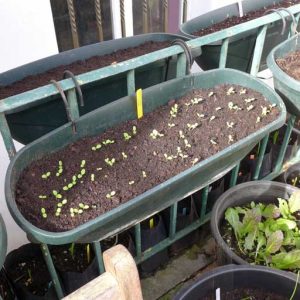
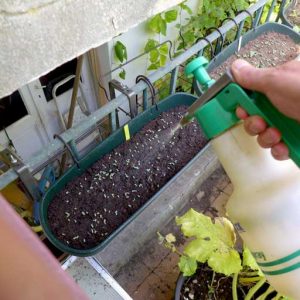
When the first leaves appear on seedlings they should be removed from under plastic or plastic bag and allowed to air out in a warm sheltered spot. Keeping them too long in the moist environment of the bag container can harm them. Ideally moving new seedlings to the shelter of a plastic box incubator protects them for the next stage of growth. They must not be allowed to dry out so a gentle mist spray works well at this stage.
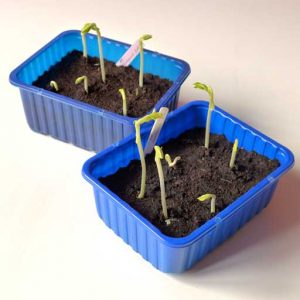
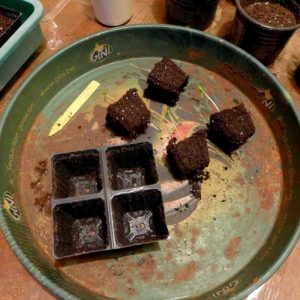
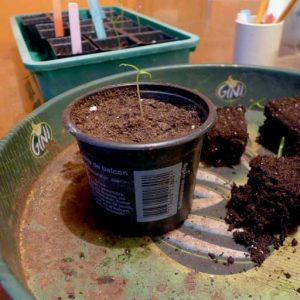
If there are more than one seedling per pot separating them can wait until each seedling is a reasonable size (50mm). Separating them into individual pots is a delicate procedure but not necessarily surgically difficult. Soil in the pot is gently teased loose and spilled out while supporting the seedlings. Handle seedlings by their leaves and not their stems which are sensitive to compression. Seedling roots can be laid into new planting holes and gently filled, followed by gentle spraying.
Most people are surprised at how easy this process actually is. Most seedlings can be re-potted without harm. There is more chance of a draft or sudden temperature change killing small seedlings than handling them. It is worth starting with something easy that germinates readily and fast such as rocket just to get some confidence with potting on.
Patience is required when sowing seed. Some seed will produce growth in a few days while others will take two weeks. This is very much trial and error based on the environment where they are being started. Too much heat from central heating can dry out seeds while a sudden cold snap outside can reach into a stable temperate area and kill seeds.
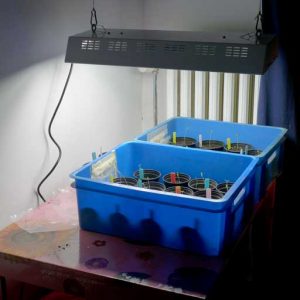
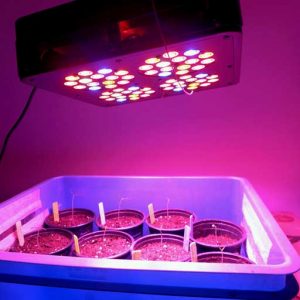
Sun or artificial light?
You can start seeds on a window sill or in a conservatory for natural sun. This natural use of sunlight is best advised for while many modern gardeners use grow lights and lamps to bring on seeds there is a case to be made that this practice accelerates growth and produces weaker seedlings. Moving seed trays onto window sills during the day and removing them at night (away from glass chill) is the most practical and simple system.
This germination of seed takes place mainly in the house before the slow process of hardening off (moving out towards the garden) begins. There should be no rush to get small seedlings outside. Even day time temperatures can drop suddenly and kill small seedlings. Keeping seedlings stable until the last frost or cold snap has passed is a tricky exercise in weather watching.
